Stitches & Techniques Glossary
This is a list of stitches and techniques
that I use in my patterns.
All patterns have their own Special Stitches & Techniques pages listed in the Table of Contents.
How to Search this Page
-
On PC: CTRL + F
-
On Mac: Command + F
-
On iPhone Safari: Share --> Find on Page
-
On Other Browsers: More ⠇--> Find on Page
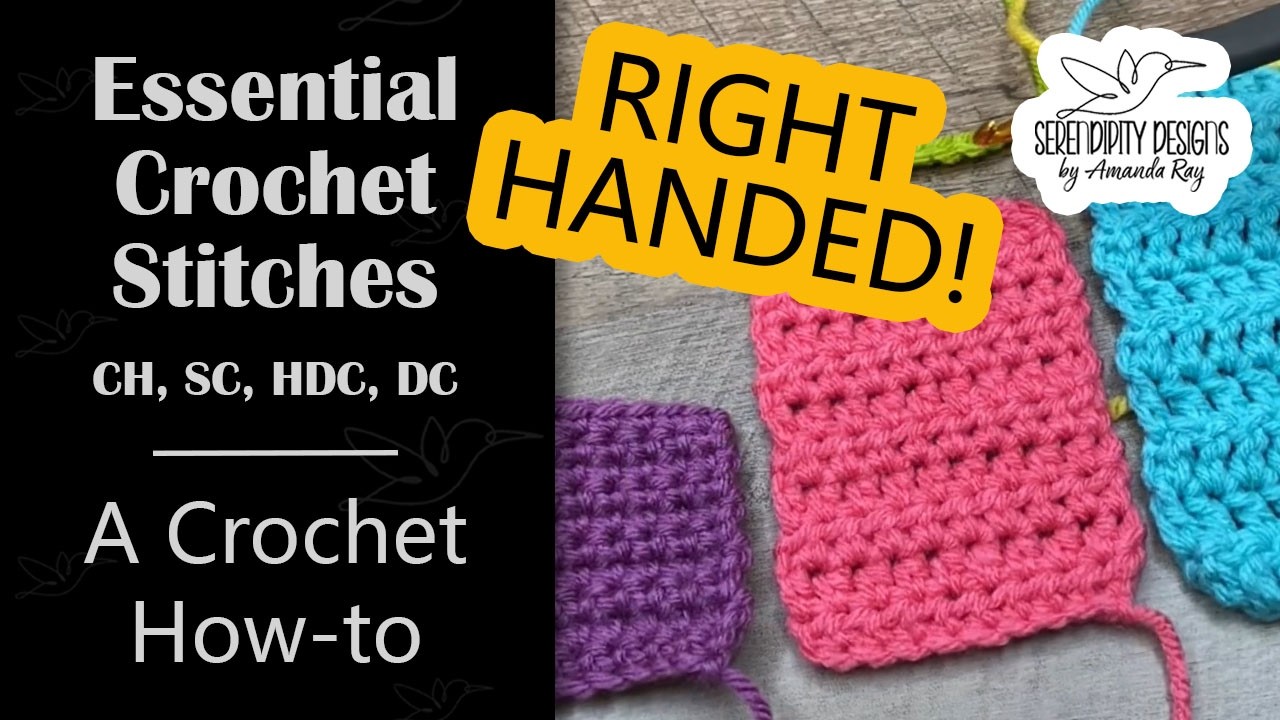
Basic Stitches: Right-Handed
The most basic stitches I use in my patterns are:
-
chain - ch
-
single crochet - sc
-
slip stitch - slst
-
half double crochet - hdc
-
double crochet - dc
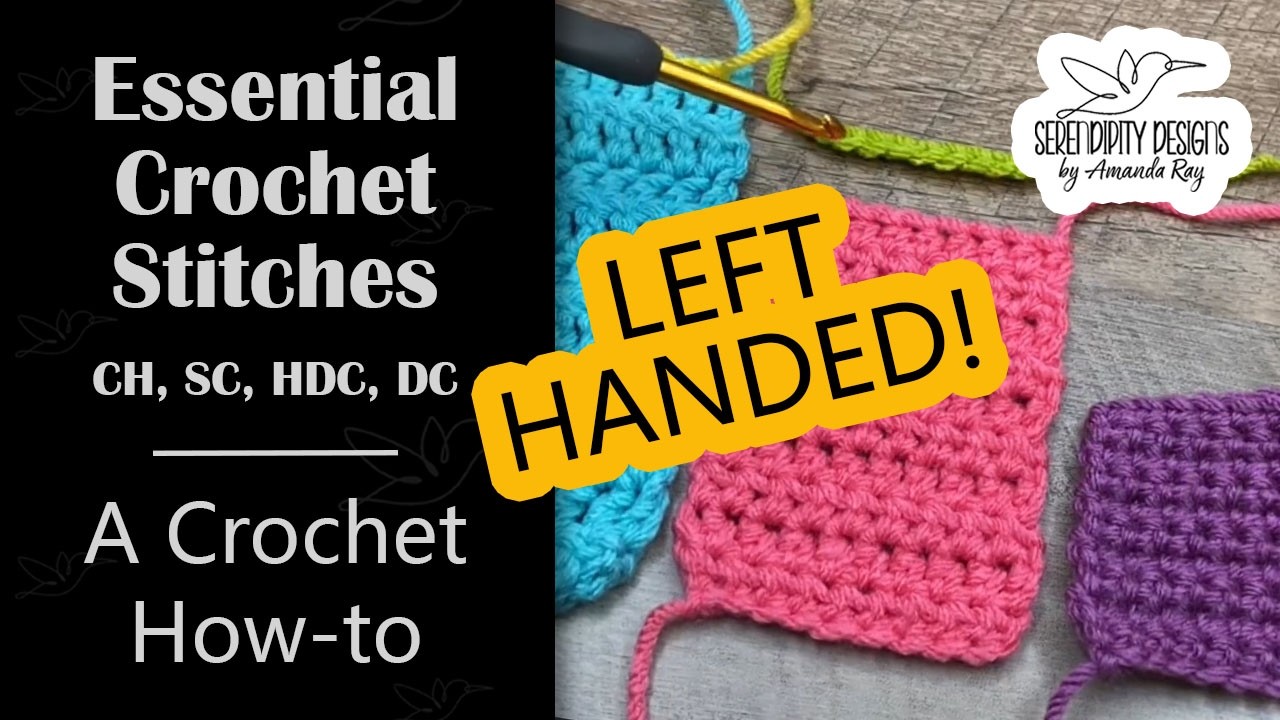
Basic Stitches: Left-Handed
The most basic stitches I use in my patterns are:
-
chain - ch
-
single crochet - sc
-
slip stitch - slst
-
half double crochet - hdc
-
double crochet - dc
Brackets [ ]
For my patterns, all stitches inside brackets are worked into the same stitch or space. These are increases or clusters that use multiple types of stitches instead of the same type of stitch (ex. [sc + dc]). This can also be used for 3 or more of the same type of stitch (ex. [5sc]).
For example:
sc 5, [hdc + dc + tr], sc 5 means make one sc in the next 5 sts, in the next stitch make one hdc, in the same stitch make one dc, in the same stitch make one tr, make one sc in the next 5 sts
Color Changes - Basic
There are many different ways to change color in crochet projects. In each pattern I will specify how I've made color changes for that particular design. You can decide if that's the method that gives the results you like best.
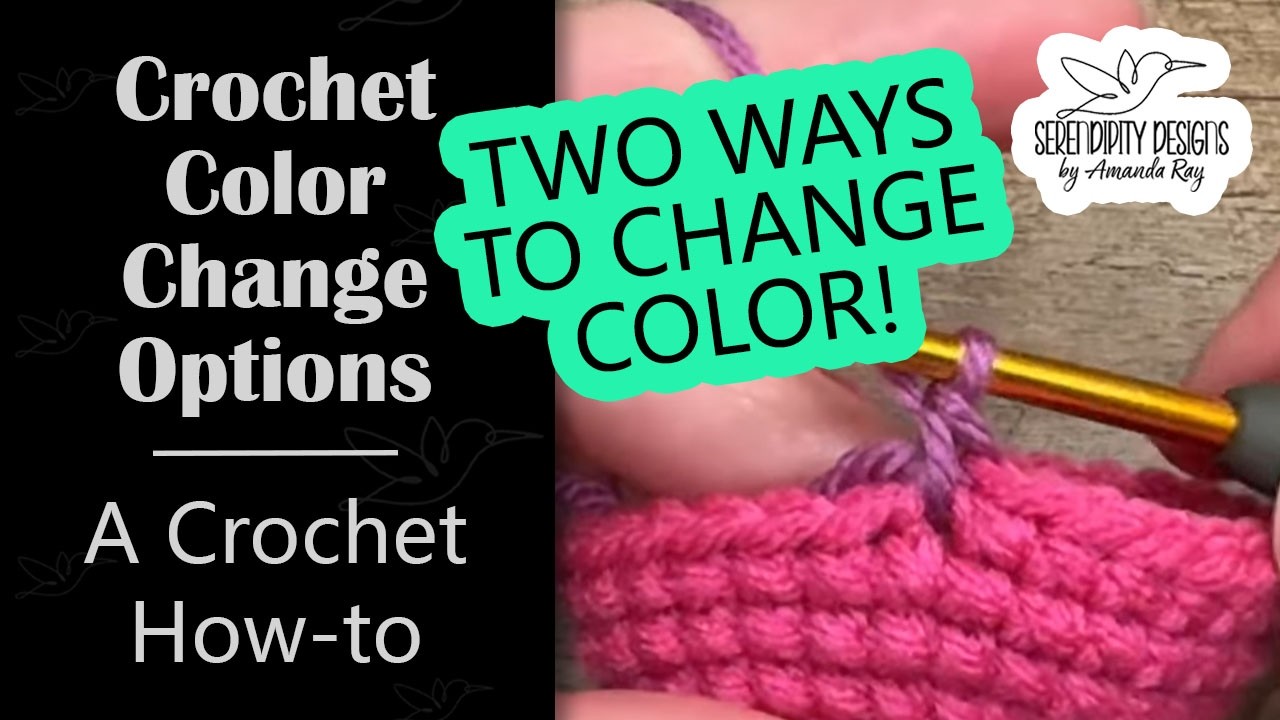
These are the two most basic color change methods.
Amigurumi Color Change (acc)
For a single crochet (sc): In the stitch before the next color, insert the hook, pull up a loop of the current color, yarn over the NEW color, pull through 2 loops to complete the stitch. Continue with the new color.
For a slip stitch (slst): With the currently color on the hook, insert the hook into the next stitch, yarn over the NEW color, pull through the stitch and the loop on the hook.
Standard Crochet Color Change (scc)
For a single crochet: In the stitch before the next color, complete the stitch as usual, pull the NEW color through the loop on the hook. Drop the OLD color and pull the loop snug. Continue with the new color.
Color Changes - Intermediate
I use this method when changing color with a slst join where the next round is worked into the back loops only or chain spaces.
Invisible Color Change Join (inv cc join)
-
Remove the hook from the loop.
-
Insert the hook into the next st from the backside.
-
Place the loop back onto the hook and pull to the backside.
-
Drape the new color over the hook and pull through the loop. Pull the dropped color snug. Continue with the new color beginning in the same st with the join.

Color Changes - Advanced
With this color change, the stitches in the following round, will make a cleaner line than a traditional color change.
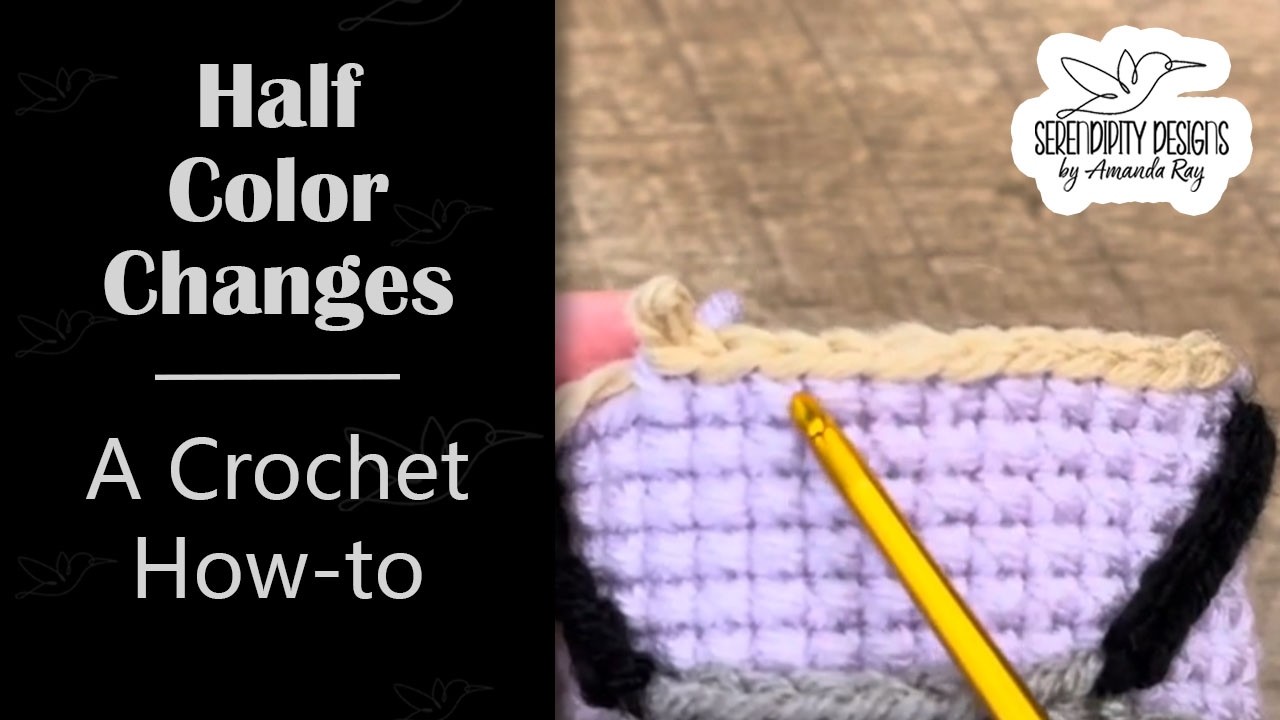
Half Color Change (hcc)
This is the same as an amigurumi color change, however half color changes are worked consecutively, making the bottom and top of the stitch different colors (for several stitches in a row).
For example, if you want the bottom of the single crochets to be white and the top of the stitches to be black, for each stitch you'll: insert, pull up white (2 loops on the hook), yarn over black to complete the stitch. As you repeat this, when you pull up a white loop, you'll have one black loop and one white loop on the hook before you complete the stitch.
Curly Braces { }
For my patterns, instructions in curly braces { } are essentially picots, but it may span more than just one st. Starting in the second chain from the hook, you'll work all stitches into the chain immediately inside the opening brace {.
For example:
sc 5, {ch 5, blo slst, bb sc 4}, sc 5 means: make one sc in the next 5 sts, ch 5, starting in the 2nd ch from the hook, blo slst, working down the rest of the ch make one sc in the next 4 bbs, make one sc in the next 5 sts
Embroidered Eyes
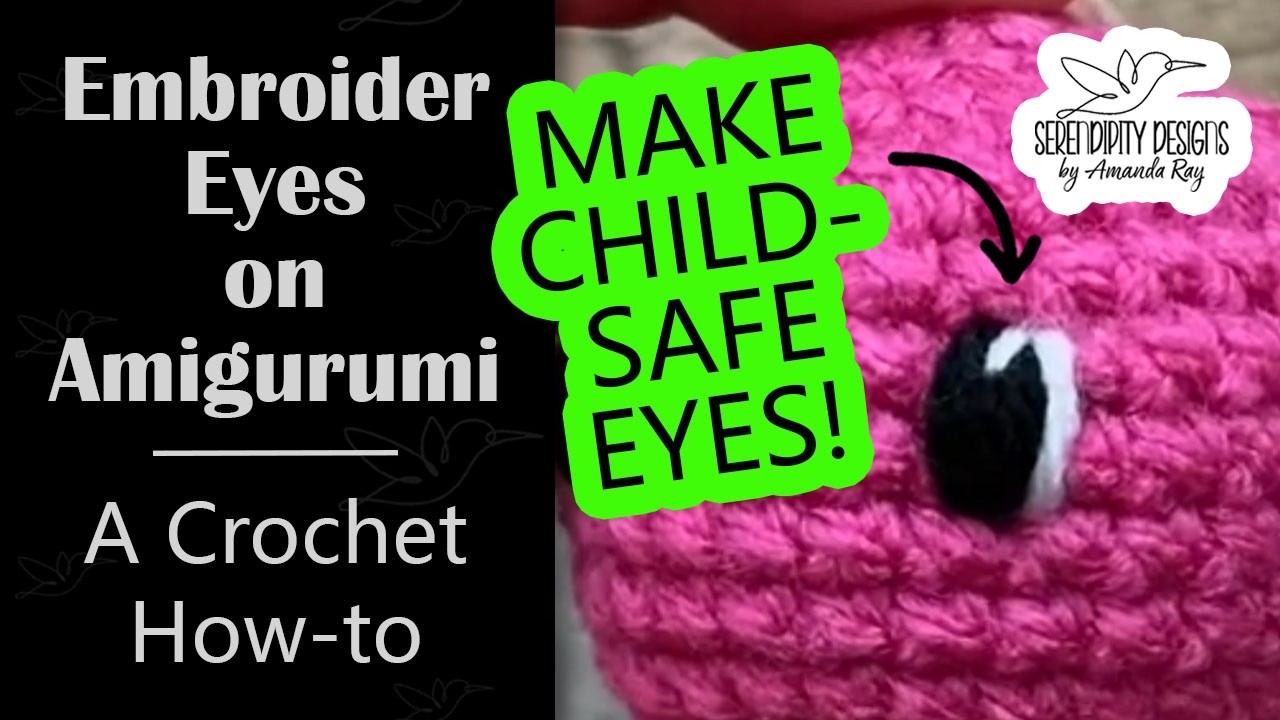
Safety eyes can be pretty and fun, but embroidered eyes add a degree of extra safety, especially for children under 3 yrs old. Remember, all projects should be safety tested before they are gifted or sold.
Joining Rounds
In amigurumi we generally work in continuous rounds without joining. However, sometimes joining can be beneficial. In some of my patterns I will join the rounds with a simple slip stitch, while in other patterns I use what I call an invisible slip stitch join (inv slst join).

Linked Stitches
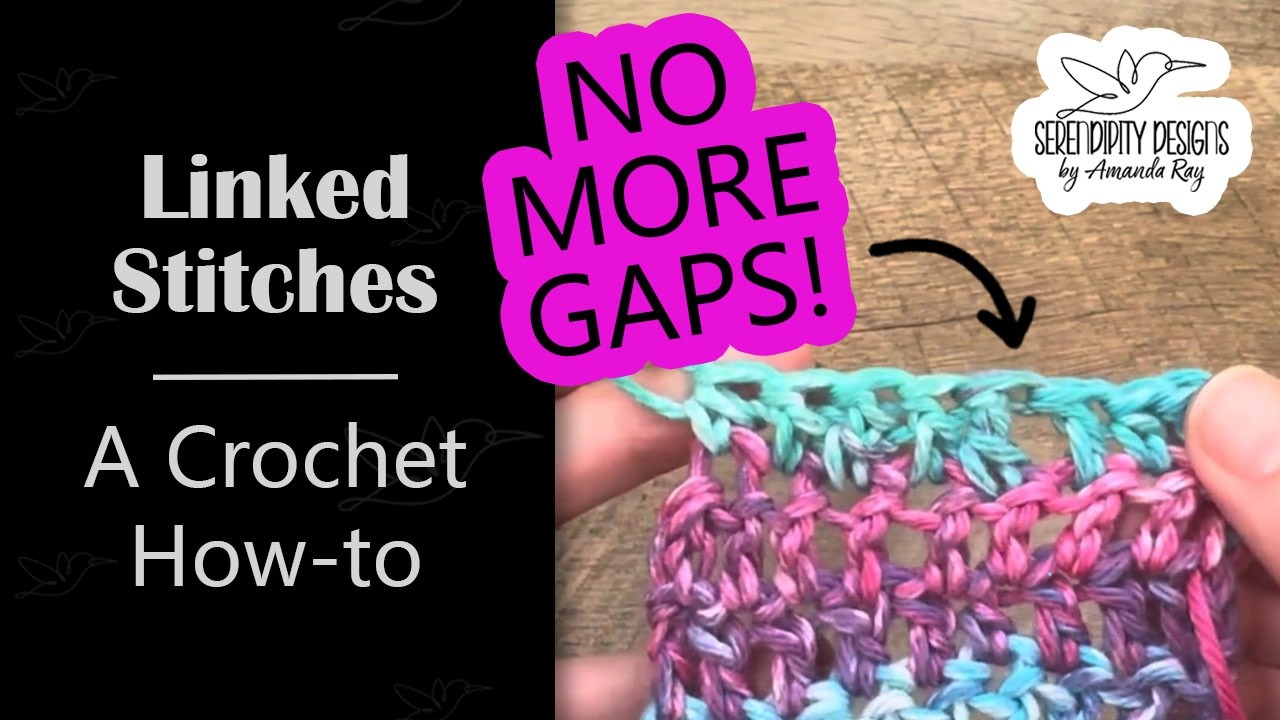
This limits gaps and makes a stronger fabric. This also allows us to use taller stitches in amigurumi than are typically used (think double and treble crochets).
The general idea is that we insert the hook into the side of the previous stitch (or designated space) to pull up a loop instead of yarning over, thus joining the new stitch to the previous stitch (or designated space).
Magic Circle or Magic Ring (mc)
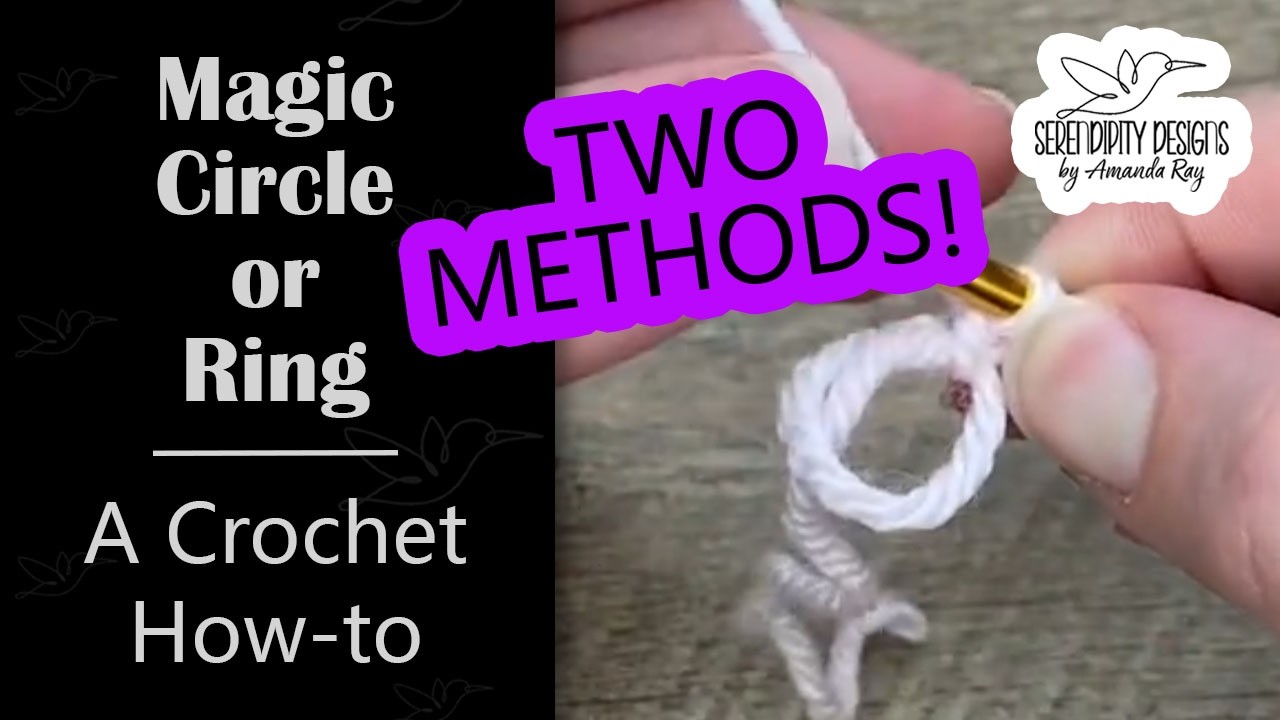
The quintessential method of beginning amigurumi is the magic circle (mc) or magic ring (mr). In my patterns I always reference magic circle (mc). A magic circle allows us to close the beginning hole completely vs beginning in a chain.
This technique can be tricky to master, but it helps to imagine it as an unfinished slip knot.
Wrapping the yarn around twice creates an even more secure circle. If you haven't tried it yet, give it a shot!
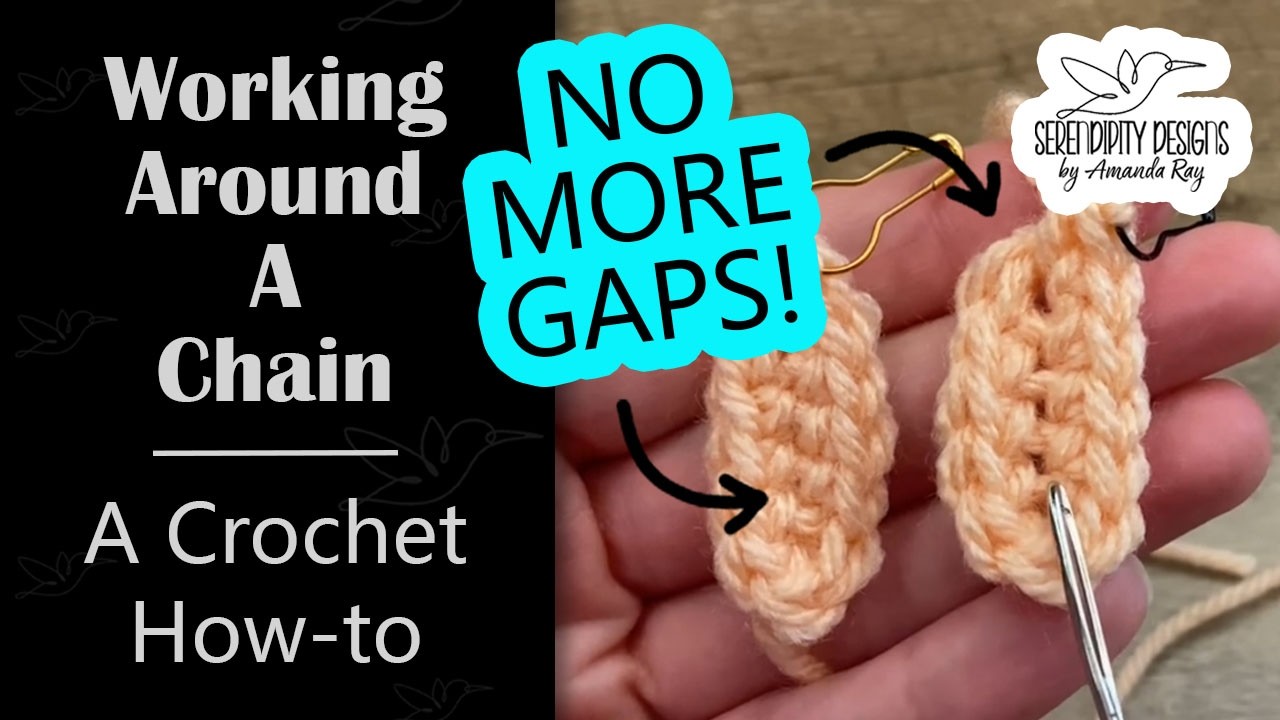
Making an Oval
To make an oval in crochet, we begin with a chain then work around both sides of it. Most people use the front loops on one side, then use the back loops on the other side. This tends to leave gaps along the center so, instead, I use the back bars first then use the front loops.
Spike Stiches
Spike stitches create more variation in color and texture. We make spike stitches by inserting the hook into corresponding stitches from previous rounds instead of working into the current round. We can do this with any type of stitch, however it is commonly used with single crochets.

Stacked Single Crochet (stsc)
Traditionally when beginning a new round or row that uses double crochets, we ch 2 in place of the first dc. However, this leaves a gap. There are many work arounds and tricks to get past this, but my favorite is using a stacked single crochet for the first stitch.

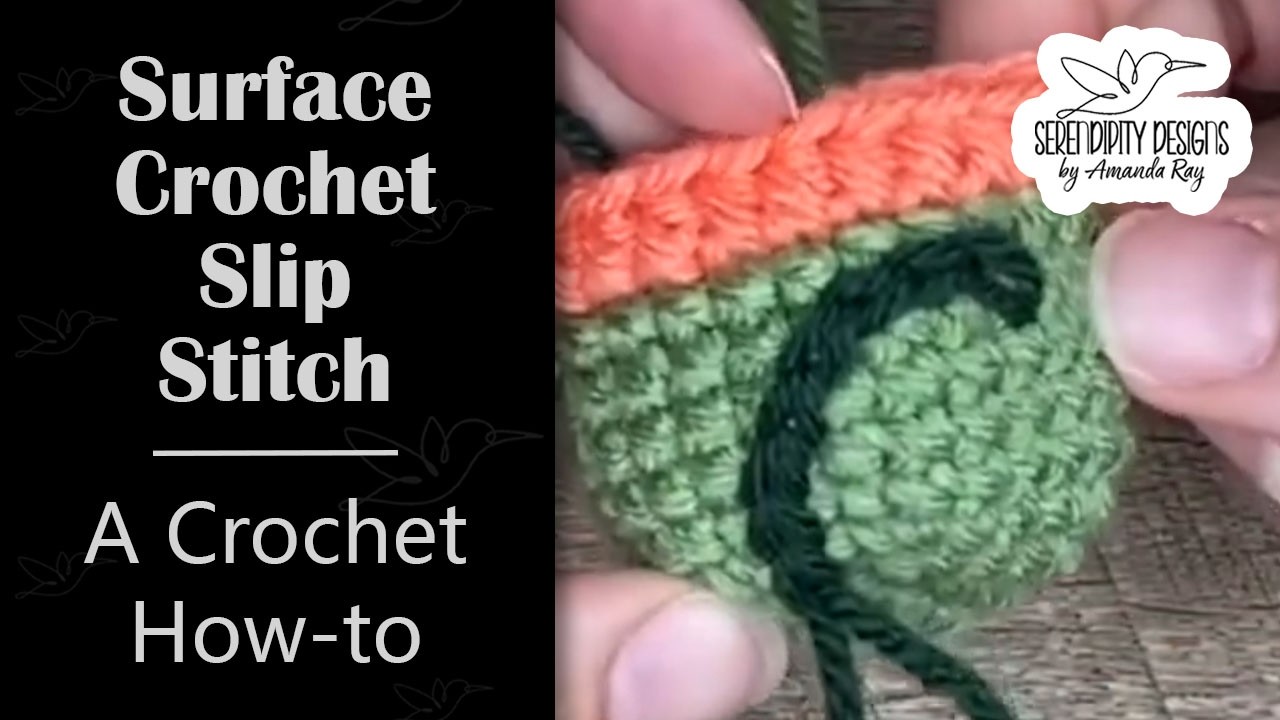
Surface Crochet
Surface crocheting is working into the spaces of a finished crochet project, on top of the fabric. There are two ways to do this:
-
Before the item is complete by inserting the hook through to the inside to pick up the yarn. This will leave the stitches laying flat against the fabric. I often use this for adding gills.
-
After the item is complete by inserting into one stitch then exiting the next stitch to pick up the yarn outside of the project. This will create more texture on the outside of the fabric. I often use this for adding fins.
Tall Stitches
-
Stack 3 Single Crochet - st3sc
-
Treble Crochet - tr
-
Double Treble Crochet - dtr

Working in Different Loops
-
Back Bar or Back Bump (bb) is the loop behind the back loop for chains and single crochet.

Working in Different Loops
-
Back Loop Only (blo): The back loop is the loop furthest from you.
-
Front Loop Only (flo): The front loop is the loop closest to you.

Working in Different Loops
-
The 3rd Loop is the loop behind the back loop of stitches taller than a single crochet.

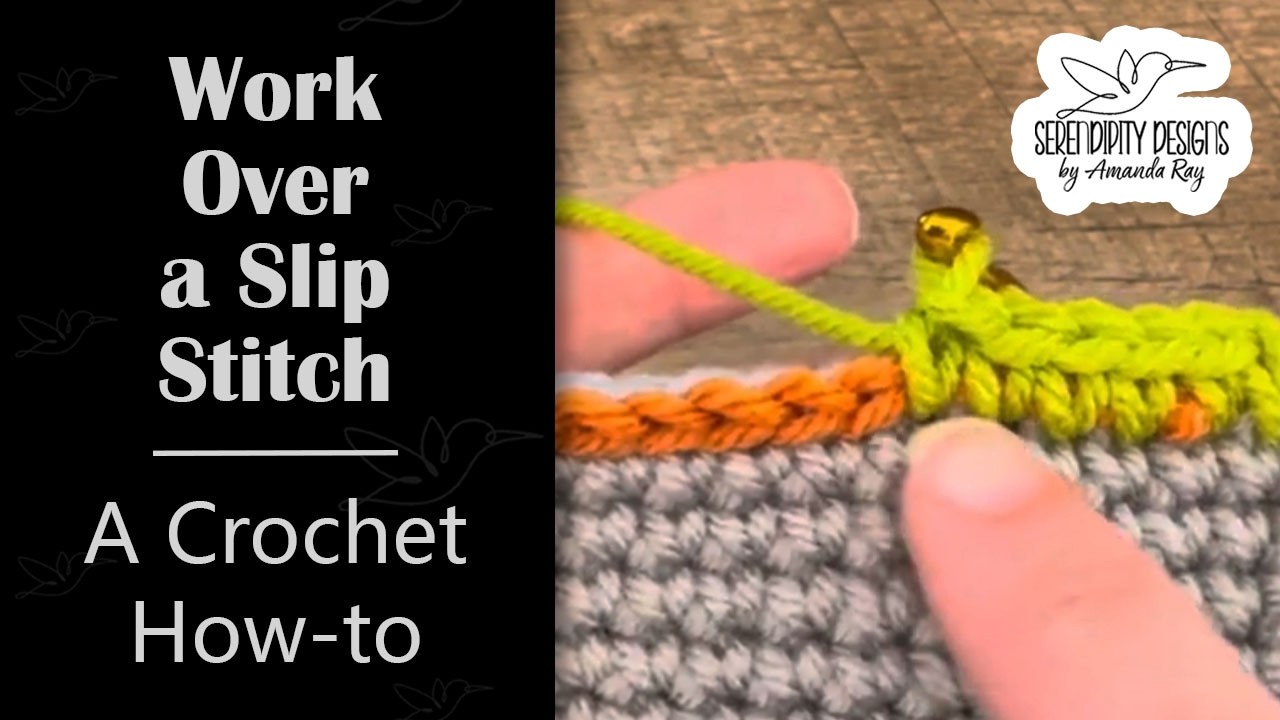
Working Over Slip Stitches
Occasionally we need to slip stitch to the desired location on the project, however we don't really want these slip stitches to exist. So in the next round we simply work under them, into the same stitch they were made into, ignoring their existence.
Yarn Under vs Yarn Over Stitches
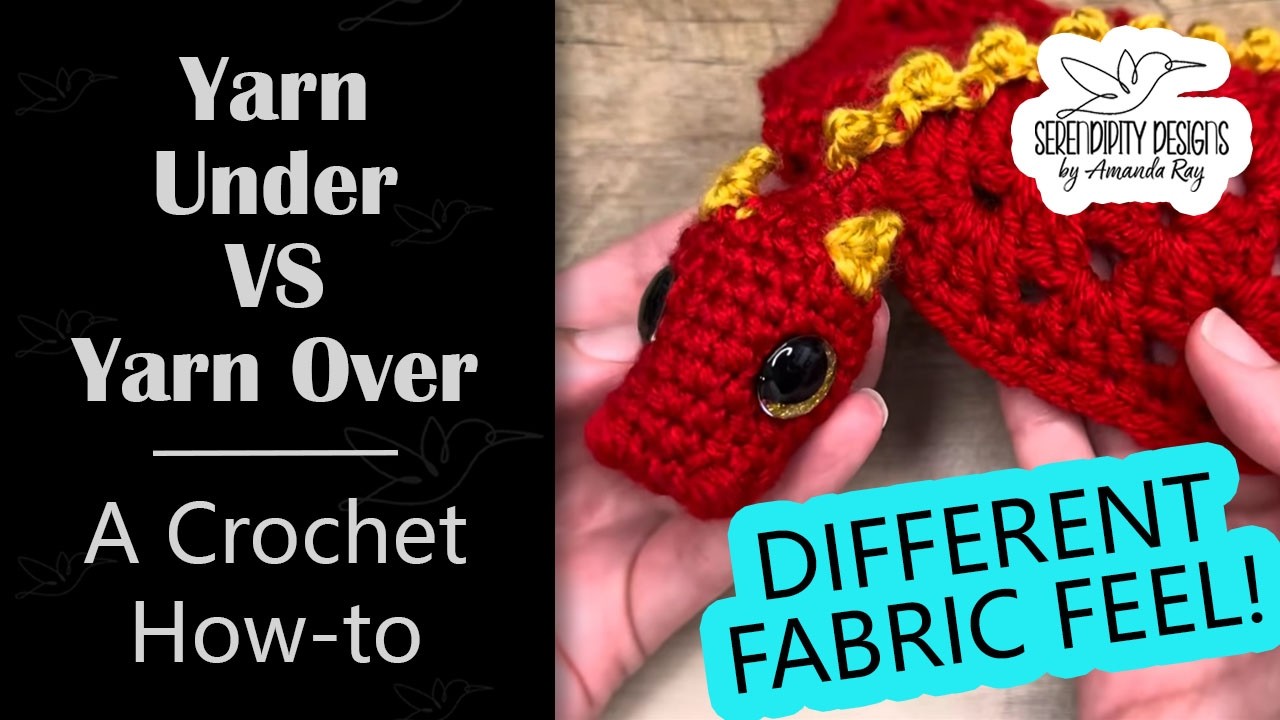
In traditional wearable and textile crochet work, stiches are made using the yarn OVER/yarn over method. In this method we insert the hook into the stitch, pick up a loop with the yarn OVER the hook, then do the same to complete the stitch. This creates a looser stitch allowing for more drape. When making a single crochet these stitches resemble little V's.
In amigurumi crochet, it has become popular to use yarn UNDER/yarn over stitches. In this method we insert the hook into the stitch, pick up a loop with the yarn UNDER the hook, then yarn OVER to pull a loop through to complete the stitch. This creates a tighter, denser stitch making a stiffer fabric - perfect for stuffing and sculpting. When making a single crochet these stitches resemble little X's.
Of course this is personal preference, however you need to be aware that it can change your tension which can affect the spiraling of amigurumi.